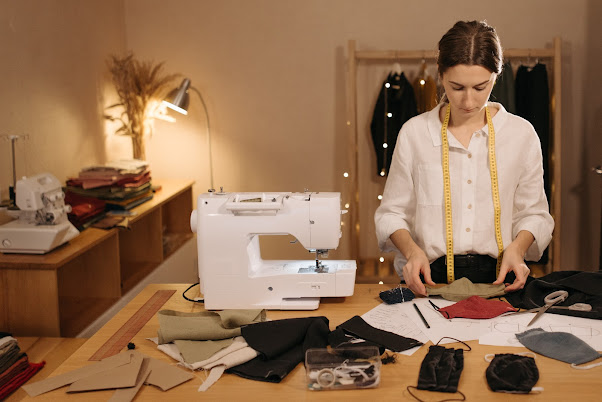
If you are interested in fashion design or garment making, you may have heard the term "pattern making" before. Pattern-making is the process of creating a blueprint or template for a garment that will be used to cut and sew the fabric. There are several different methods of pattern-making, each with its own benefits and drawbacks. In this article, we will explore some of the most common methods of pattern-making and discuss their advantages and disadvantages.
What are Patterns?
Before we dive into how to make your own patterns, let's first discuss what patterns are. In sewing and other crafts, patterns are templates used to create a specific design or shape. They can be made out of paper, fabric, or other materials and are used as a guide when cutting and sewing.
How To Start Making Your Own Patterns
Why Make Your Own Patterns?
Step 1: Choose Your Design
The first step in pattern-making is choosing your design. This can be anything from a simple shape to a complex garment. Take some time to think about what you want to create and sketch out your design on paper.
Step 2: Take Your Measurements
Once you have your design sketched out, it's time to take your measurements. This is important because your pattern needs to fit your body or the body of the person you're making the garment for. Make sure to take accurate measurements and write them down.
Step 3: Create Your Pattern
Now it's time to create your pattern! You can do this by tracing your design onto pattern paper or by creating a digital pattern using software like Adobe Illustrator or Inkscape. Make sure to transfer your measurements onto your pattern.
Step 4: Test Your Pattern
Before you start cutting your fabric, it's important to test your pattern. You can do this by creating a mock-up of your design using muslin fabric. This will allow you to make any necessary adjustments before cutting into your final fabric.
Step 5: Cut and Sew
Once you're happy with your pattern, it's time to cut and sew your final garment! Make sure to follow your pattern carefully and take your time to ensure a good fit.
Tips for Successful Pattern-Making
Here are some tips to keep in mind as you start making your own patterns:
- Take accurate measurements
- Practice makes perfect - don't be afraid to make mistakes
- Use high-quality materials
- Make a mock-up before cutting it into the final fabric
- Don't be afraid to experiment with different designs and shapes
Method 1: Draping
Draping is a method of pattern making that involves manipulating fabric directly on a dress form or mannequin to create a pattern. This method is often used by high-end designers because it allows for a high degree of creativity and experimentation. Draping can be a time-consuming process, but it can also be very rewarding because it allows the designer to see the garment in three dimensions and make adjustments as needed.
For example, a designer may drape a dress on a mannequin and experiment with different folds and pleats until they find a design they like. They can then use the draped fabric as a template for cutting the actual fabric.
Method 2: Flat Pattern Making
Flat pattern making is a more traditional method of pattern making that involves creating a pattern using measurements and calculations. This method is often used by mass production companies because it is efficient and precise. Flat pattern making involves creating a pattern on paper or cardboard, which is then used to cut the fabric. This method can be less creative than draping, but it is also more consistent and precise.
For example, a designer may use a flat pattern to create a basic skirt design, which can then be adjusted to create different styles and sizes.
Method 3: CAD Pattern Making
CAD (Computer-Aided Design) pattern making is a modern method of pattern making that involves using software to create a pattern. This method is becoming increasingly popular because it allows designers to create patterns quickly and easily, and it also allows for easy adjustments and modifications. CAD pattern-making can be a great option for small businesses or independent designers who want to create patterns quickly and efficiently.
For example, a designer may use CAD software to create a digital pattern for a dress, which can then be printed and used to cut the fabric.
Method 4: Grading
Grading is the process of adjusting a pattern to fit different sizes. This process is usually done after the initial pattern has been created, and it involves making adjustments to the pattern to ensure that it fits a range of sizes. Grading can be done manually or using software, and it is an important part of the pattern-making process for mass production companies.
For example, a designer may create a pattern for a dress in a size medium, and then use grading to adjust the pattern to fit sizes small and large.
Also, Read


0 Comments