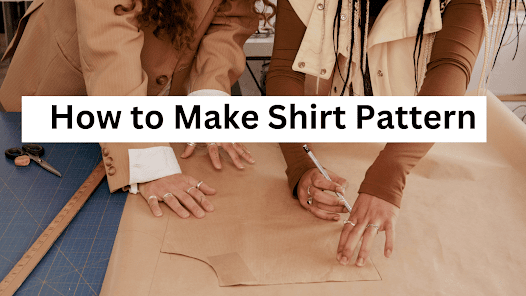
Are you tired of buying shirts that don't fit you perfectly? Do you want to create your own unique shirt design? Well, you're in luck! In this blog post, we will guide you through the process of making your own shirt pattern from scratch.
Getting Started
Before we begin, let's gather some materials. You will need:
- Measuring tape
- Large sheets of paper (preferably pattern paper)
- Pencil
- Ruler
- Scissors
- Tape
Once you have everything you need, find a flat surface to work on and let's get started!
Taking Measurements
The first step in making a shirt pattern is to take accurate measurements. This is crucial to ensure that your shirt fits you perfectly. Here are the measurements you will need:
- Chest - Measure around the fullest part of your chest, under your armpits.
- Waist - Measure around the smallest part of your waist.
- Hips - Measure around the widest part of your hips.
- Sleeve length - Measure from the top of your shoulder to your wrist.
- Shirt length - Measure from the top of your shoulder to where you want your shirt to end.
Make sure to write down all your measurements and keep them handy.
Drafting the Pattern
Now that you have your measurements, it's time to start drafting your shirt pattern. Here's how:
- Fold your large sheet of paper in half lengthwise.
- Draw a straight line along the folded edge. This will be the centre front line of your shirt.
- Mark half of your chest measurement plus 2cm on the folded edge. This will be the bust point.
- From the bust point, draw a line perpendicular to the centre front line, the length of your shirt plus 2cm.
- From the bust point, draw a line towards the shoulder, the length of your shoulder to sleeve length plus 2cm.
- From the shoulder, draw a line towards the centre front line, the length of your shoulder to waist plus 2cm.
- From the waist, draw a line towards the hip, the length of your waist to hip plus 2cm.
- Connect the lines to create the basic shape of your shirt.
Adding Details
Now that you have the basic shape of your shirt, it's time to add some details. Here are a few things you can add:
- Neckline - draw a curve at the top of the centre front line to create the neckline.
- Collar - draw a rectangle on the neckline and cut it out to create the collar.
- Sleeves - draw a curved line from the shoulder to the wrist, the length of your sleeve length measurement plus 2cm.
- Cuffs - draw a rectangle at the end of the sleeve and cut it out to create the cuffs.
- Hemline - draw a curve at the bottom of the shirt to create the hemline.
Cutting and Sewing
Once you have your pattern drafted and all the details added, it's time to cut out your pattern pieces. Make sure to label each piece, so you know where they go. You can use the pattern pieces to cut out your fabric and start sewing your shirt!
Conclusion
Congratulations! You have successfully made your own shirt pattern. With a little bit of practice and patience, you can create a variety of shirt designs that fit you perfectly. Happy sewing!


0 Comments